This is far more secure than other cloud services that are scanned by local and foreign government agencies.
We can set up owncloud for youat extra cost, or you can do it yourself for FREE with this easy setup guide.
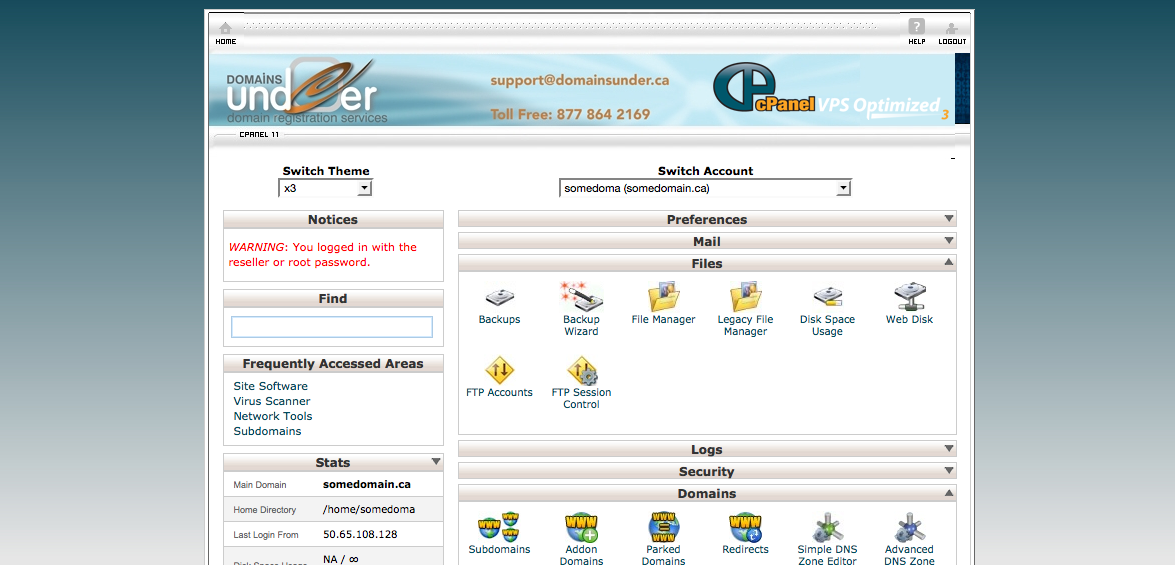
1. First thing you need to do is to get into cpanel. See our related knowledgebase article on how to do this:
http://www.domainsunder.ca/whmcs/knowledgebase.php?action=displayarticle&id=14
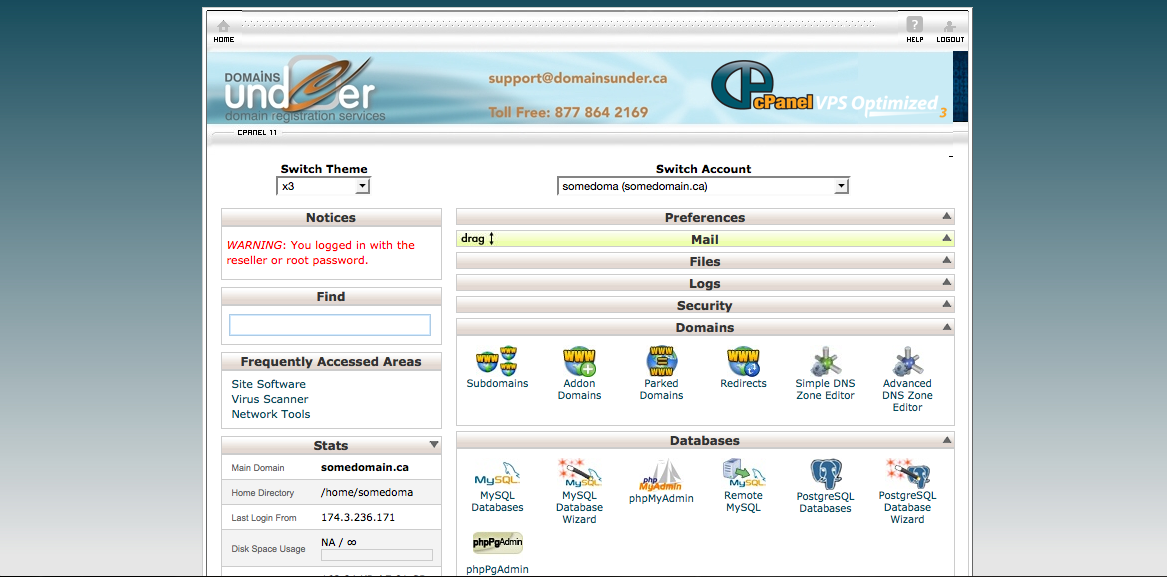
2. Once you are in cpanel, go down to the "domains" section and click on "subdomains".
NOTE in this article, replace somedomain.ca with your own domain name.
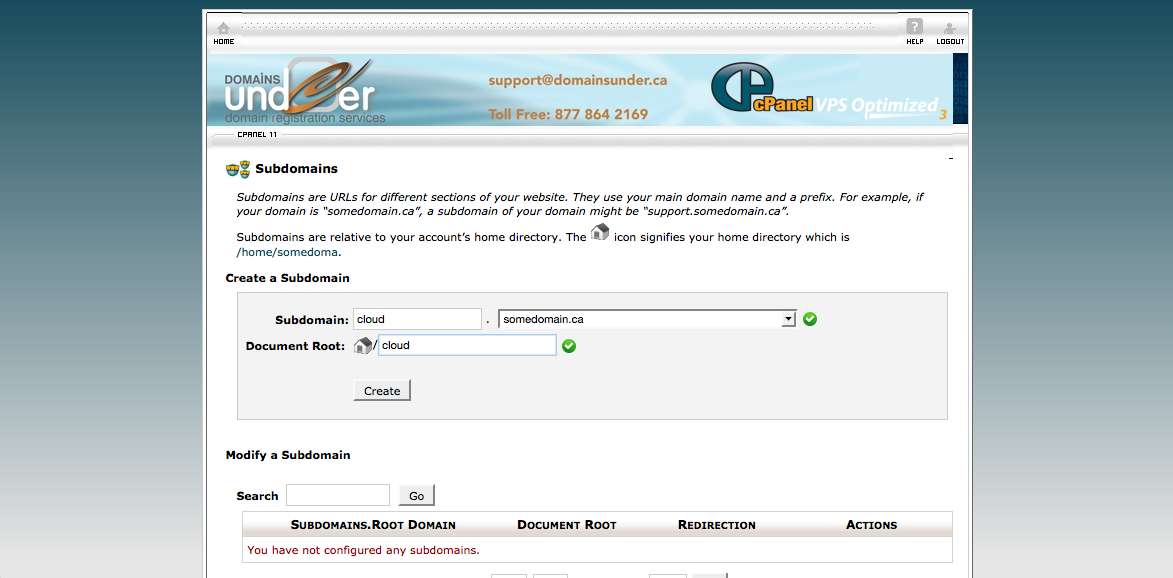
3. Create "cloud" subdomain:
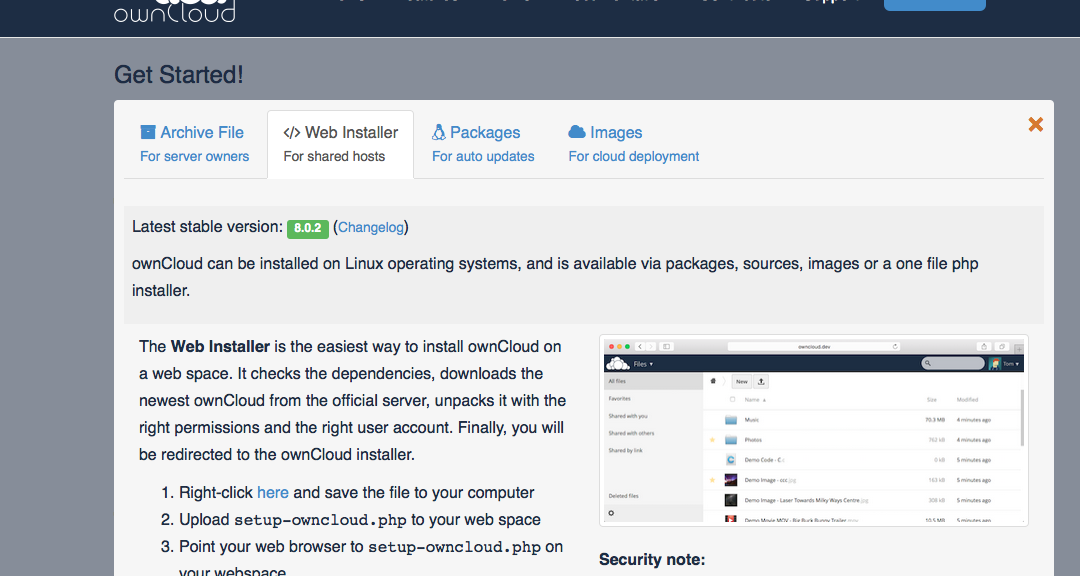
4. Download owncloud source code SETUP PHP FILE to your pc or mac from:
Go to this page: https://owncloud.org/install/#instructions-server
For simplicity, choose the "web installer for shared hosts" option, and download the "setup-owncloud.php" file as shown here (note their website may change)
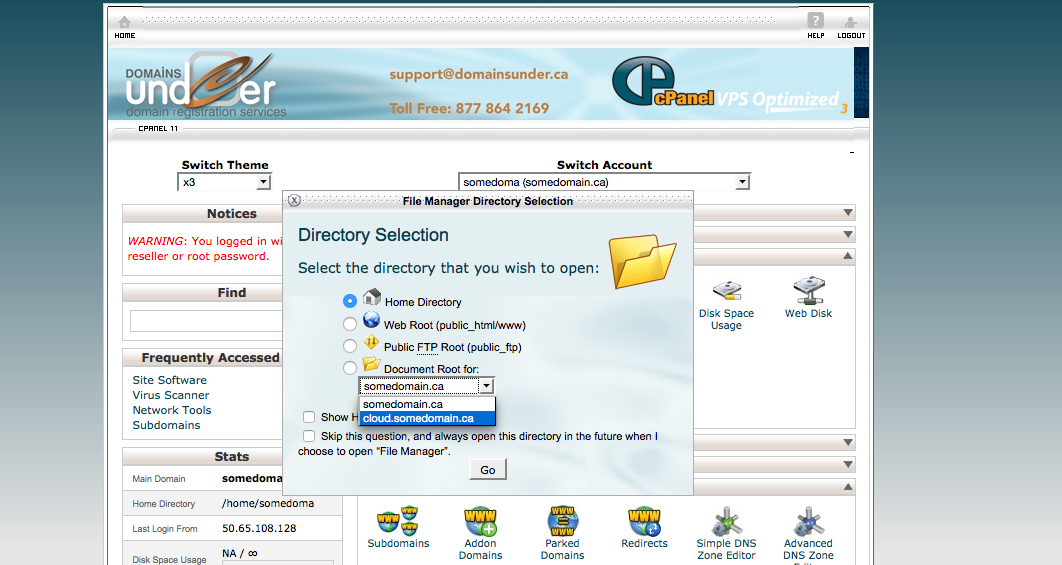
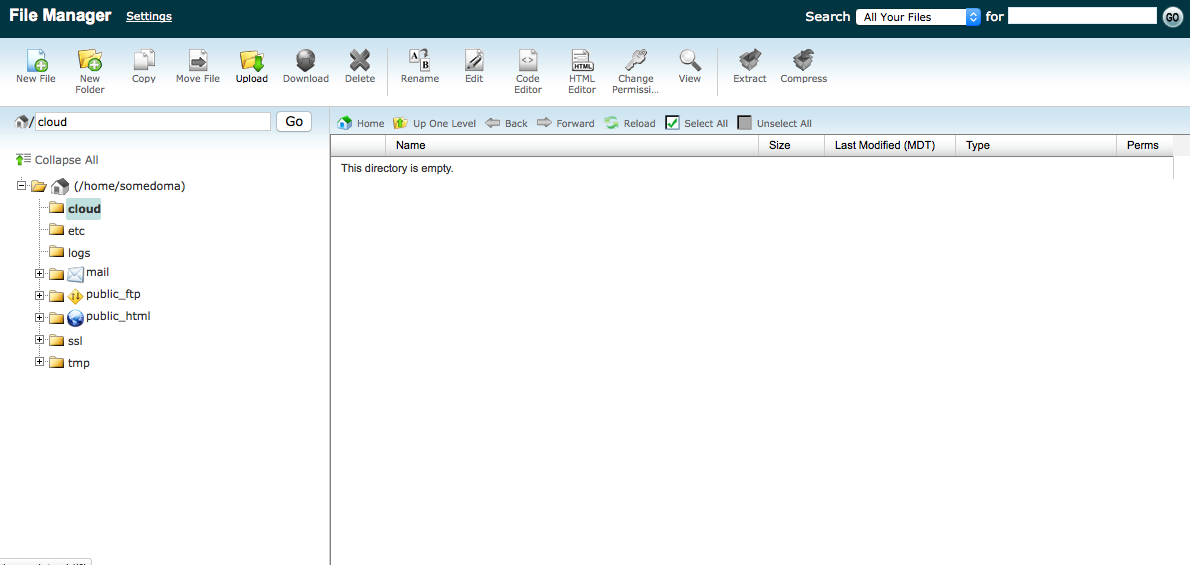
5. Open "filemanager" in files:
5.a. and select the "cloud" directory.
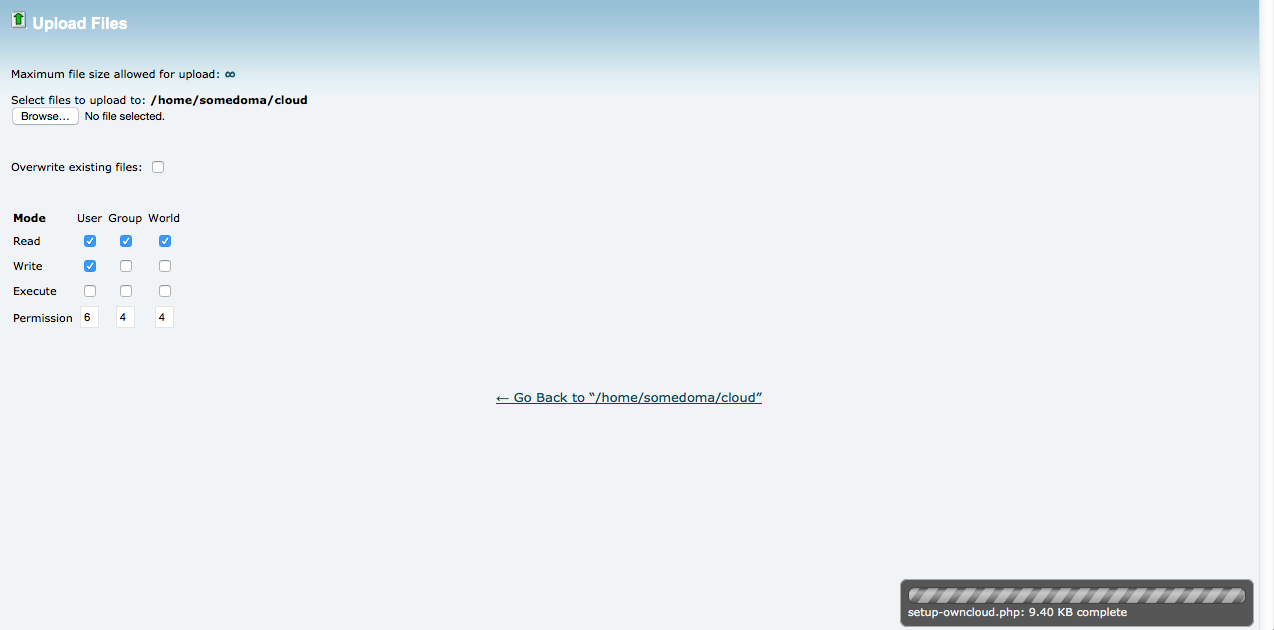
6. Select "upload" and upload the file you received in step 4. to the cloud directory.
7. Once you have downloaded, your upload should be completed
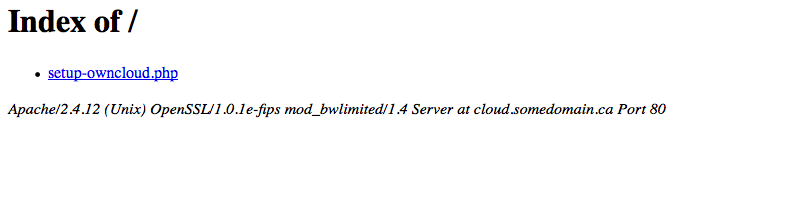
8. point your browser at your home page - in our example: http://www.somedomain.ca - Use your domain name here. Click on the "setup-owncloud.php" file to start the installation wizard.
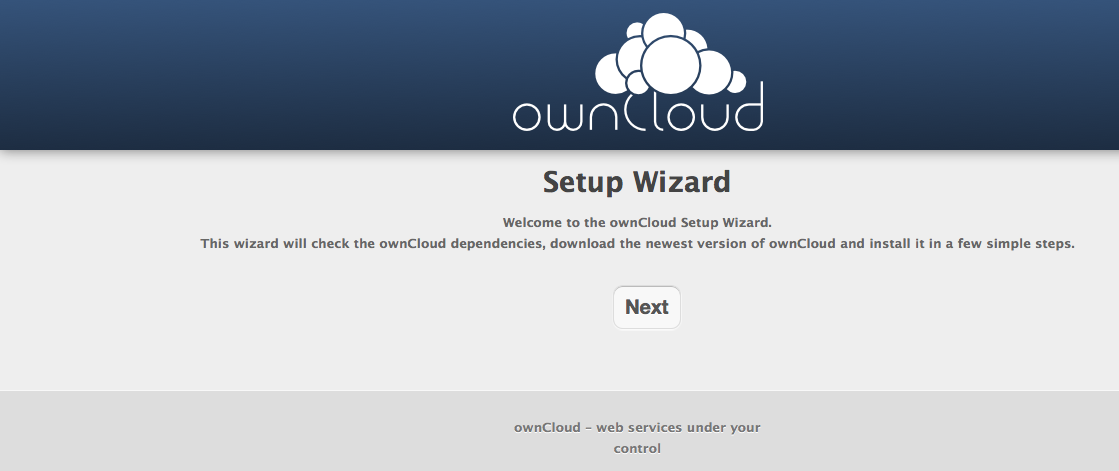
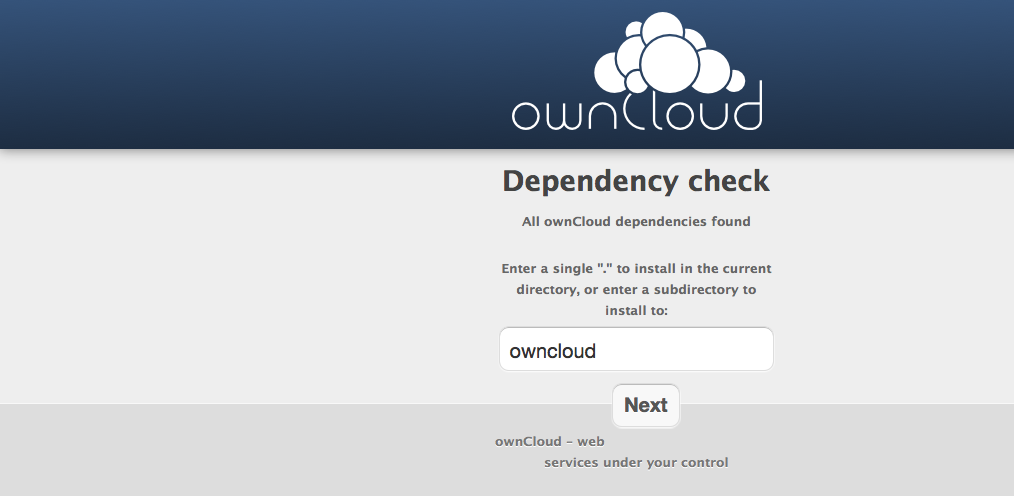
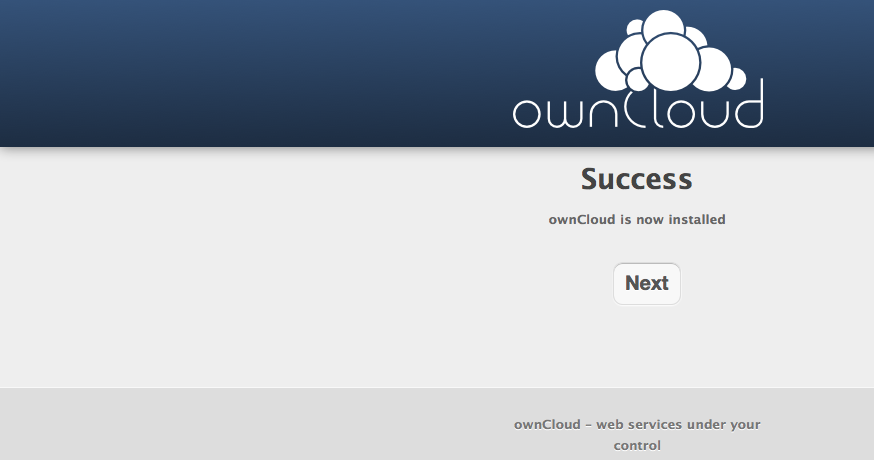
9. go through the wizard to install owncloud
10. Create admin name: Do not use the word "admin" by itself, and choose a password with upper and lower case letters, and numbers. Special characters are good too. The best passwords are phrases with numbers and upper case in them.
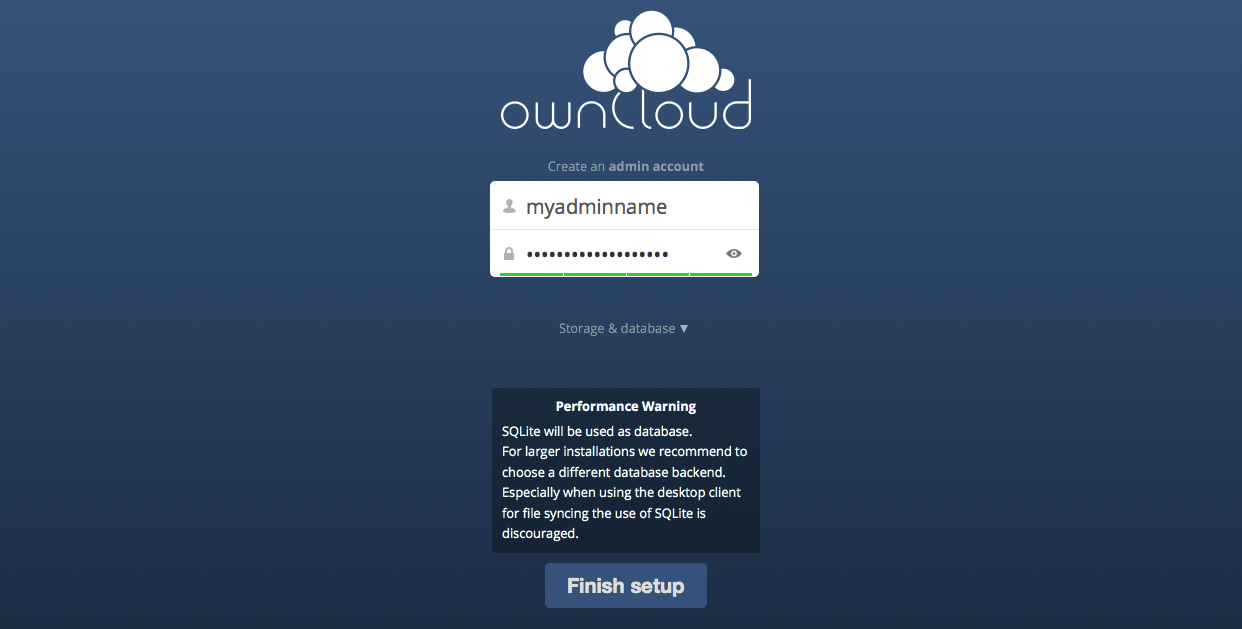
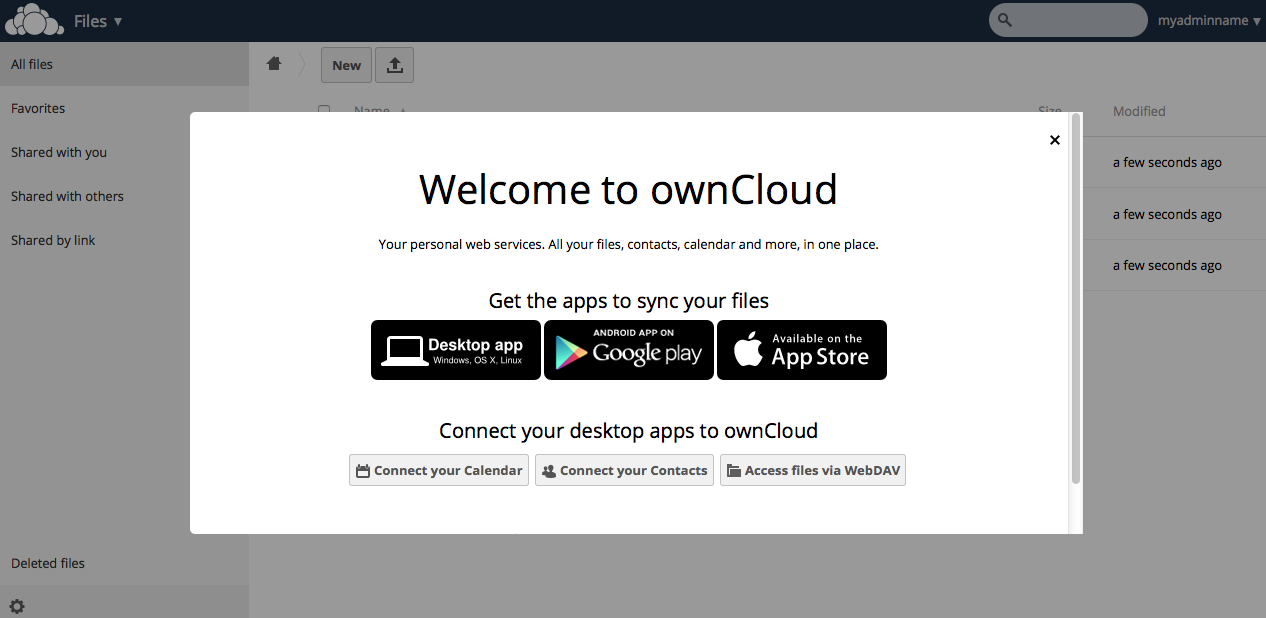
11. Click finish setup, and then download your favourite tools to access owncloud
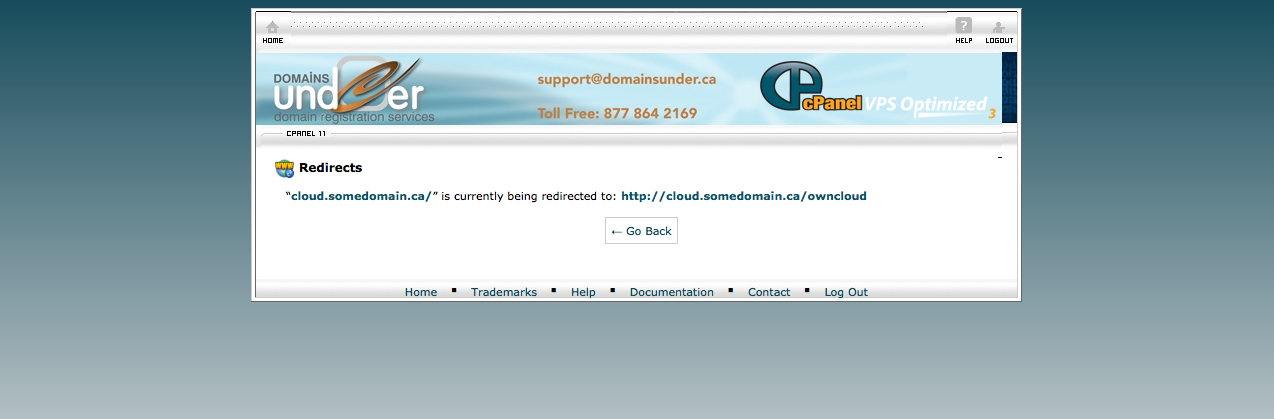
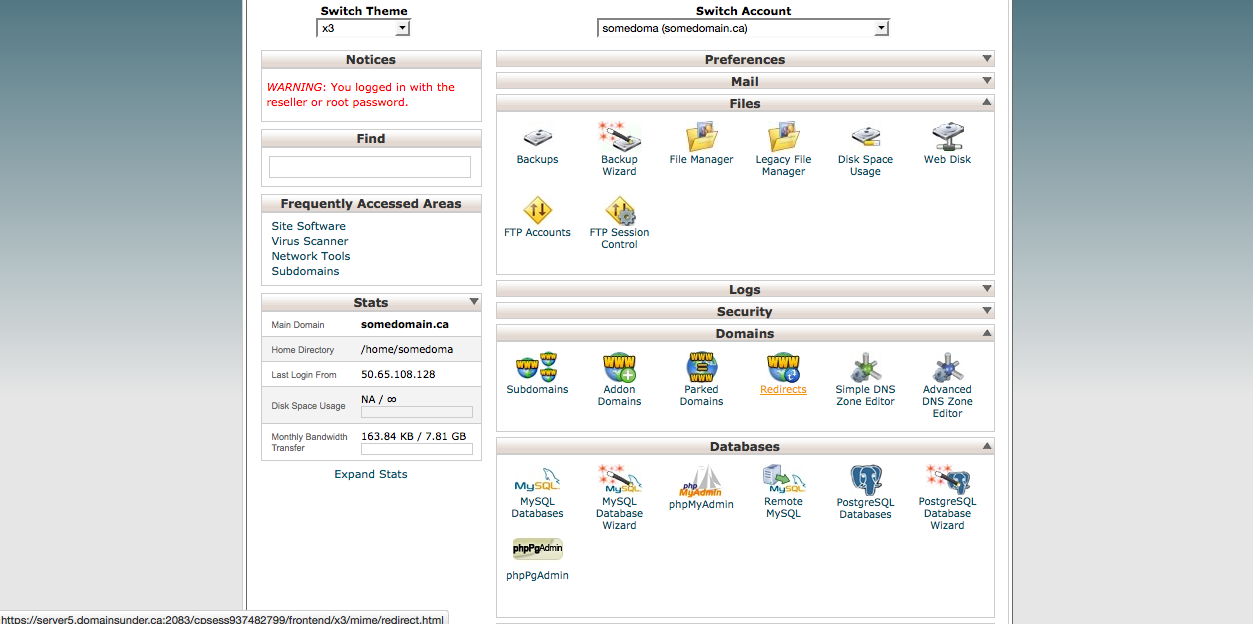
12. Go back to cpanel, and select "redirect" under domains:
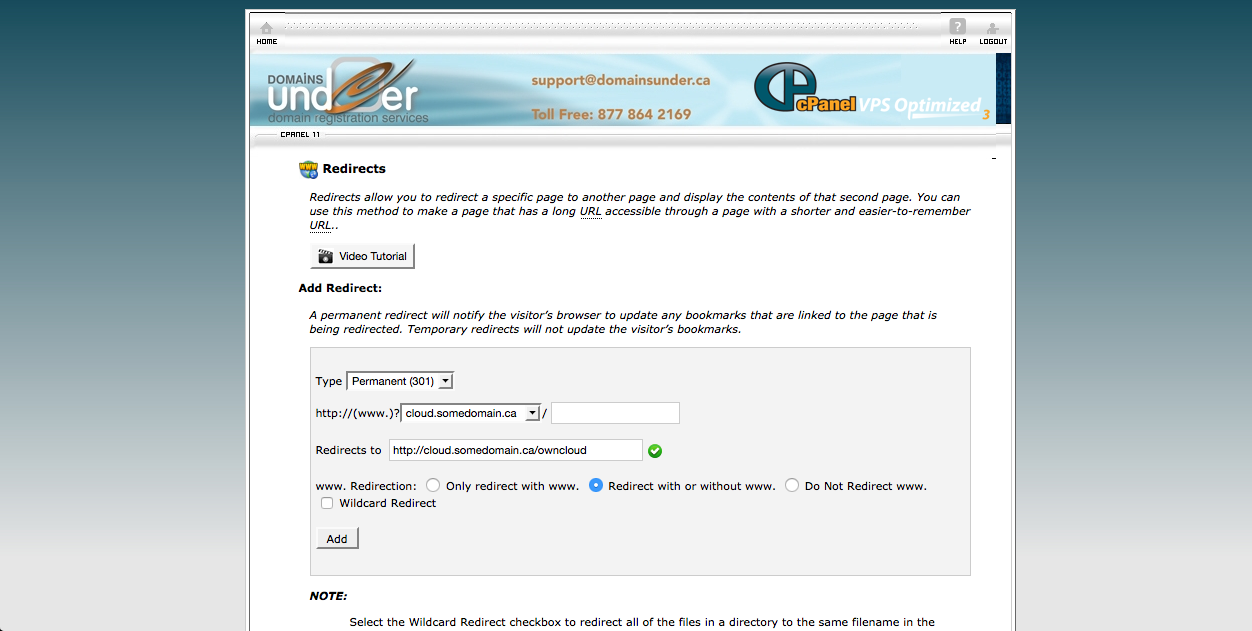
13. Point root at owncloud in the redirect screen. Again use your own domain name here.
14. After you click "Add" success should look like this. That's it you are done. go to https://doc.owncloud.org/ for documentation on details on how to do things with your new cloud.